Installing the Second Node in an HA Cluster
- Repeat steps 1 thought 8 for the HA peer node (see Installing the First Node in an HA Cluster).
- Enter the following settings:
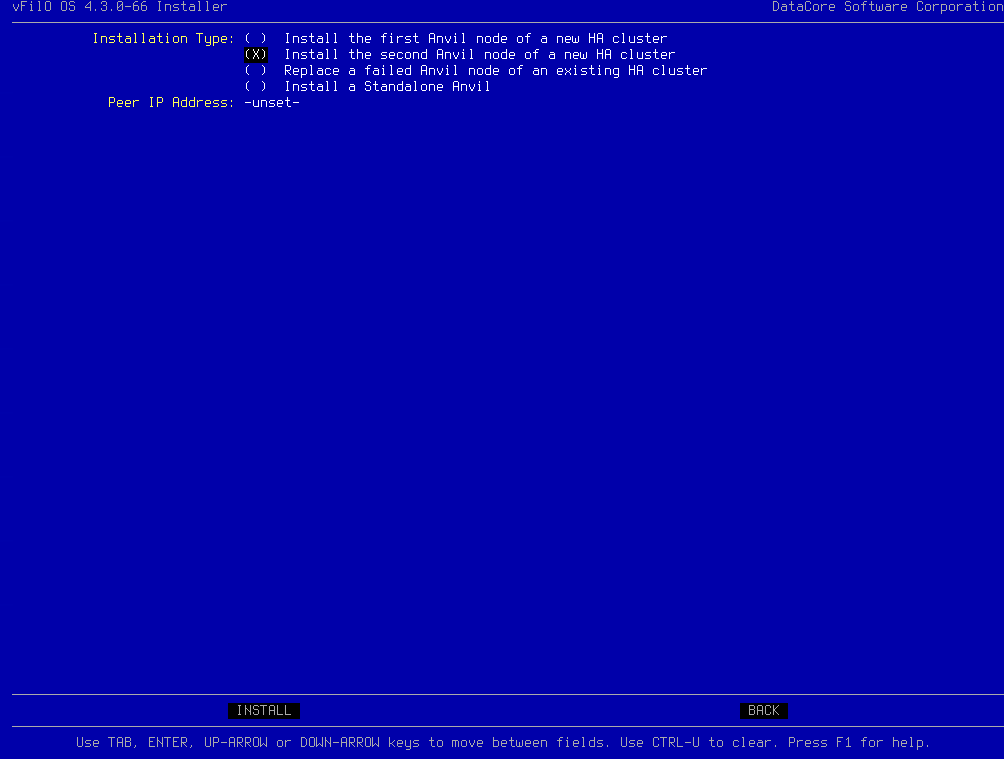
- Select the Installation type: “Install the second node of a new HA cluster”

- Select the Installation type: “Install the second node of a new HA cluster”
- Tab down to “Peer IP Address” and press Enter.
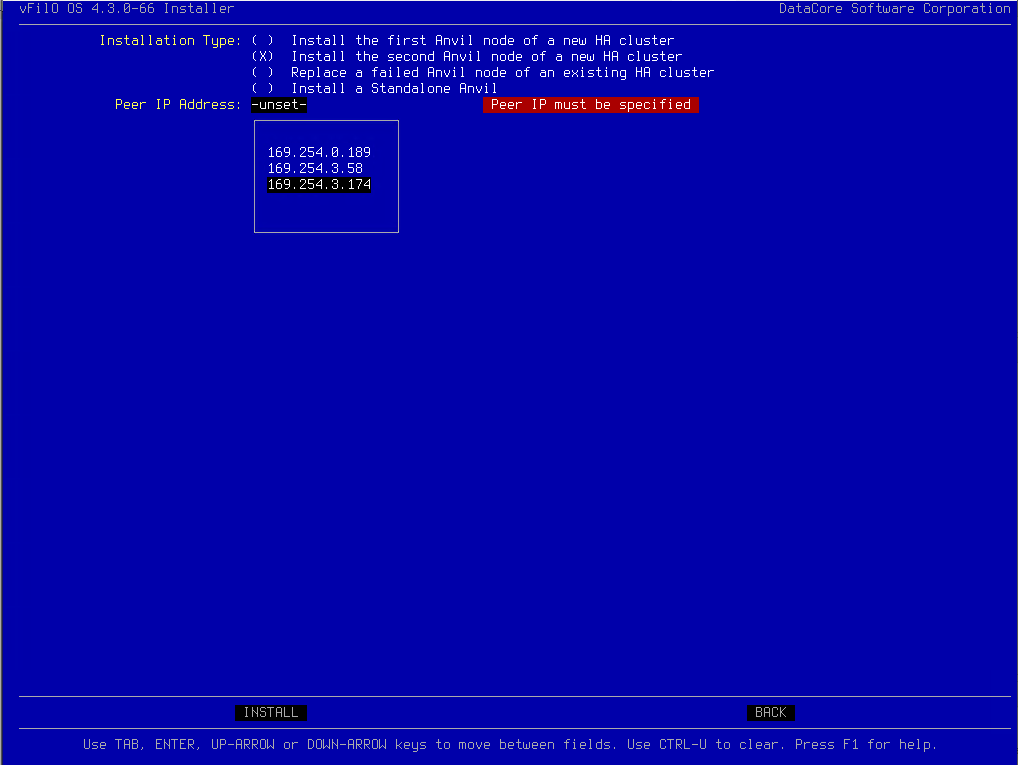
- The peer IP address will be automatically discovered using the private interconnect.
- Once the Peer IP address is discovered select Install and press Enter.
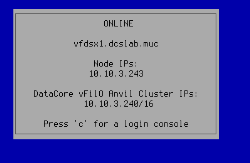
- Verify that the discovered Peer IP address is the same as displayed on the console of the first node.
- Verify that the discovered Peer IP address is the same as displayed on the console of the first node.
- Select Yes and press Enter.

- The HA cluster and network settings are automatically created, and the installation starts.
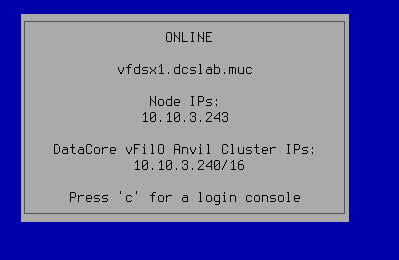
- The following screen is displayed after the install completes.
- Validate the installation. Open a web browser and go the URL for the Management Graphical User Interface.
The management URL is the cluster IP, https://10.10.3.240 in the example used here.
- When the web interface displays, login using the admin credentials to confirm installation was successful.
If you installed from an ISO image in a vSphere environment, you must configure time synchronization settings for each virtual machine. See Time Synchronization in VMware Environments.