DSX (DataCore vFilO Data Services)
Adding DSX Storage System
Adding a DataCore vFilO DSX Storage System is either fully automated or a single click operation. During the installation, the DSX is configured to only connect to one particular Anvil Cluster IP, if the Anvil admin credentials were also configured then the next step of manually adding the DSX has already been automatically done and you can skip to the Adding Volume Step.
Manually adding a DSX node
In the Storage Systems tab, click on the + sign on the right hand side as illustrated in the Figure below. The DSX needs to be added using this method even though it may not have any storage attached to it. If adding a DSX that is only functioning as a Portal, this is the only step that needs to be done.

Adding DSX Storage Volumes
To complete the DSX Store configuration, click + Volume button from Storage Systems view or Add Volume from Volumes view.
Command Line Reference
> volume-add
The size of a volume is not reflected until the volume is added.
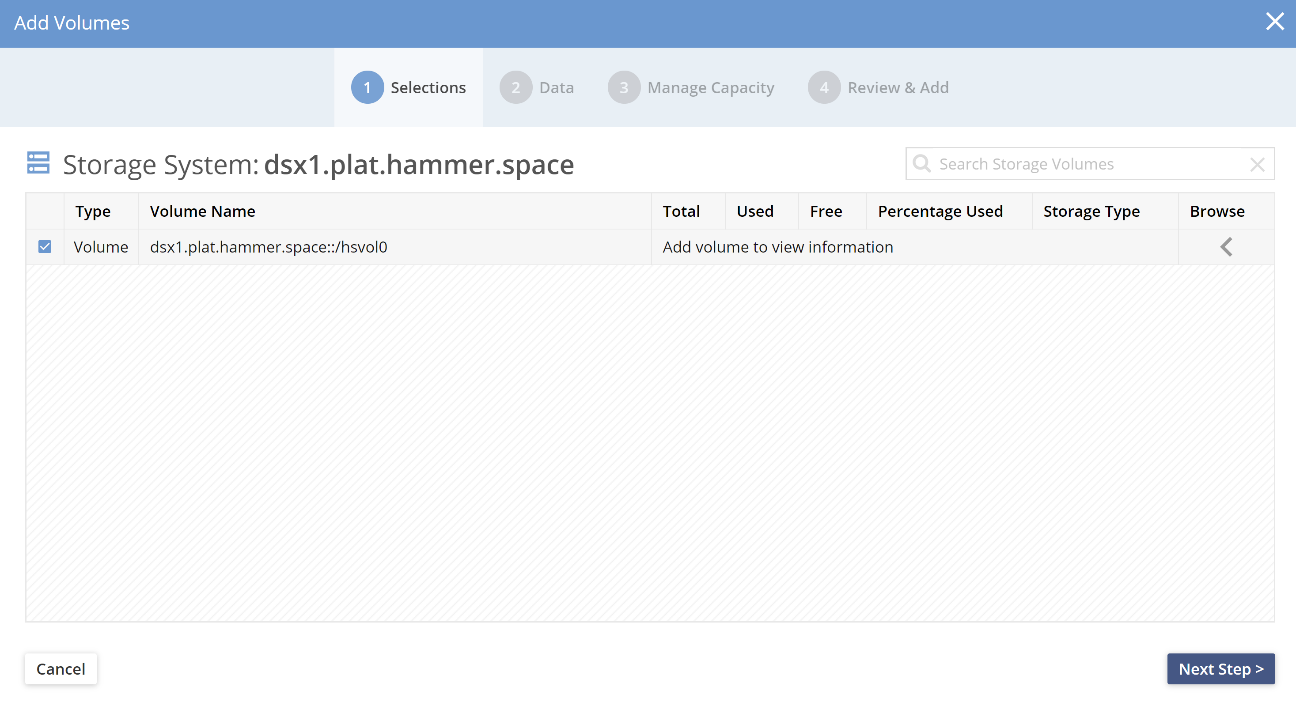
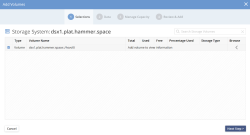
- Select Volumes
Select the volumes to add from DSX. Each configured block device will automatically be configured with a XFS file system as part of the installation process. See Adding Storage to DSX for instructions on how to add new block storage after the DSX has been installed.
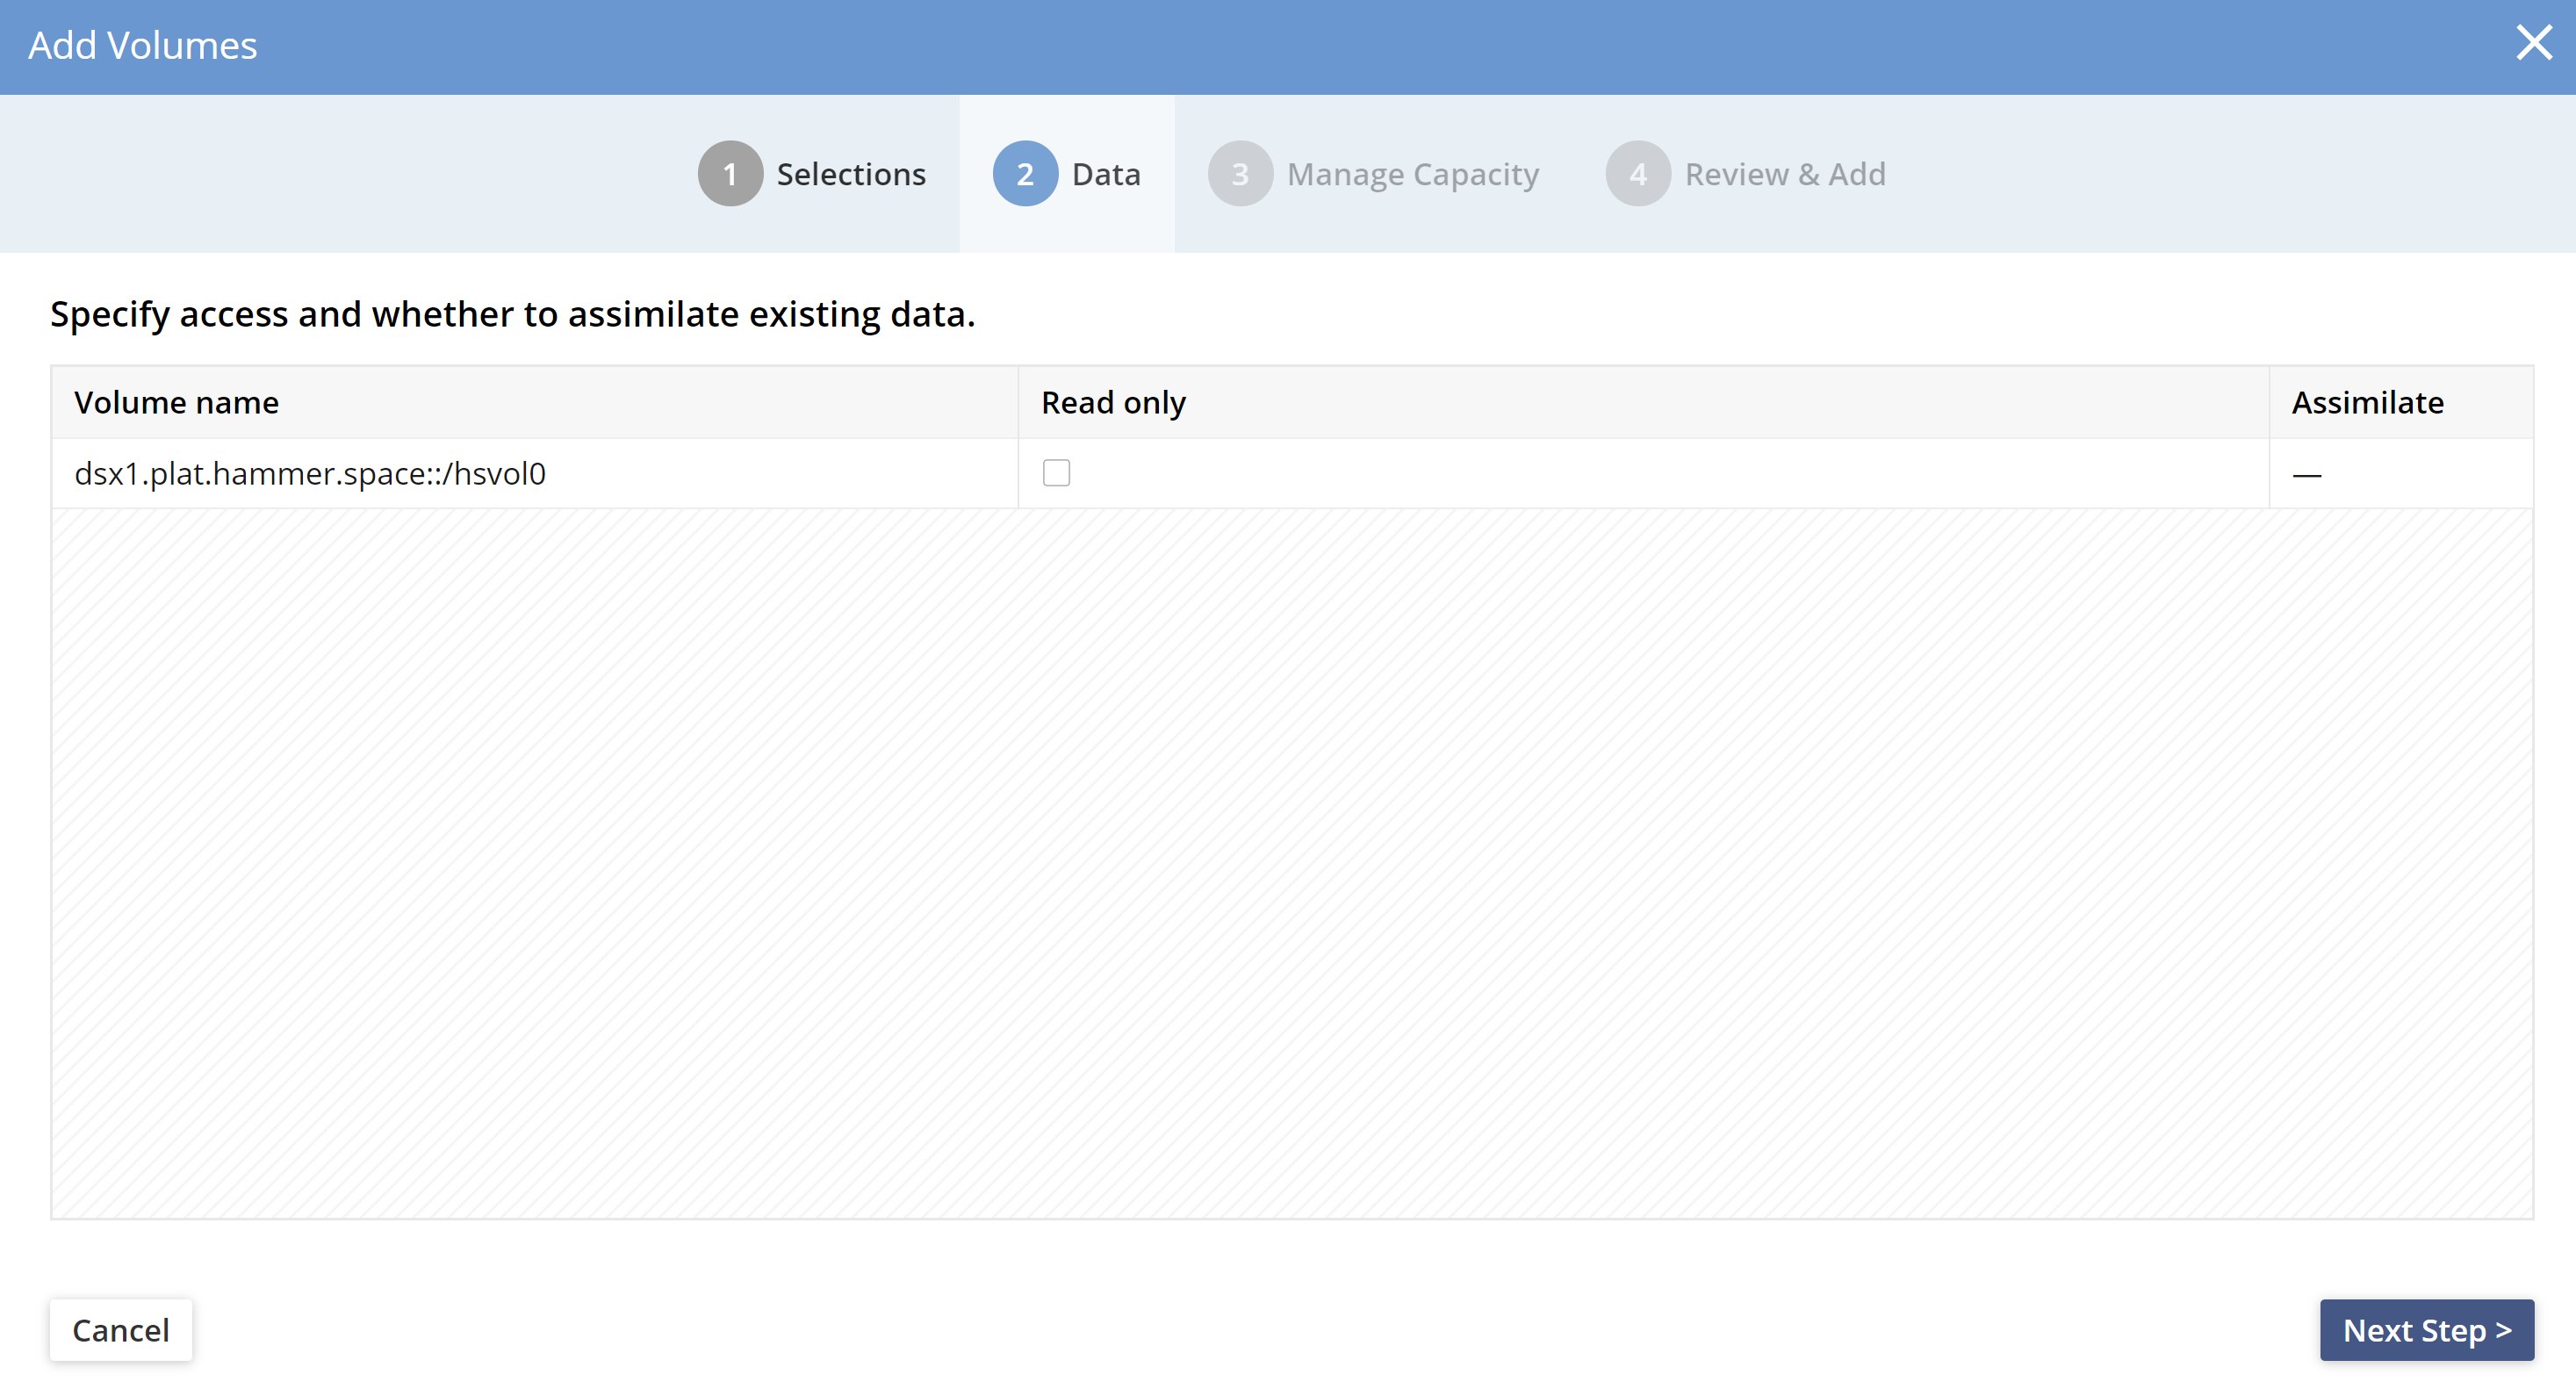
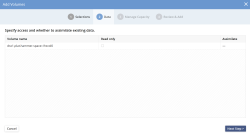
- Assimilation of existing data
The second step will detect existing data on the volume and prompt the user to go through the assimilation process. For more details on assimilation, see Assimilation. For a brand new DSX installation there will not be any existing data to be detected.
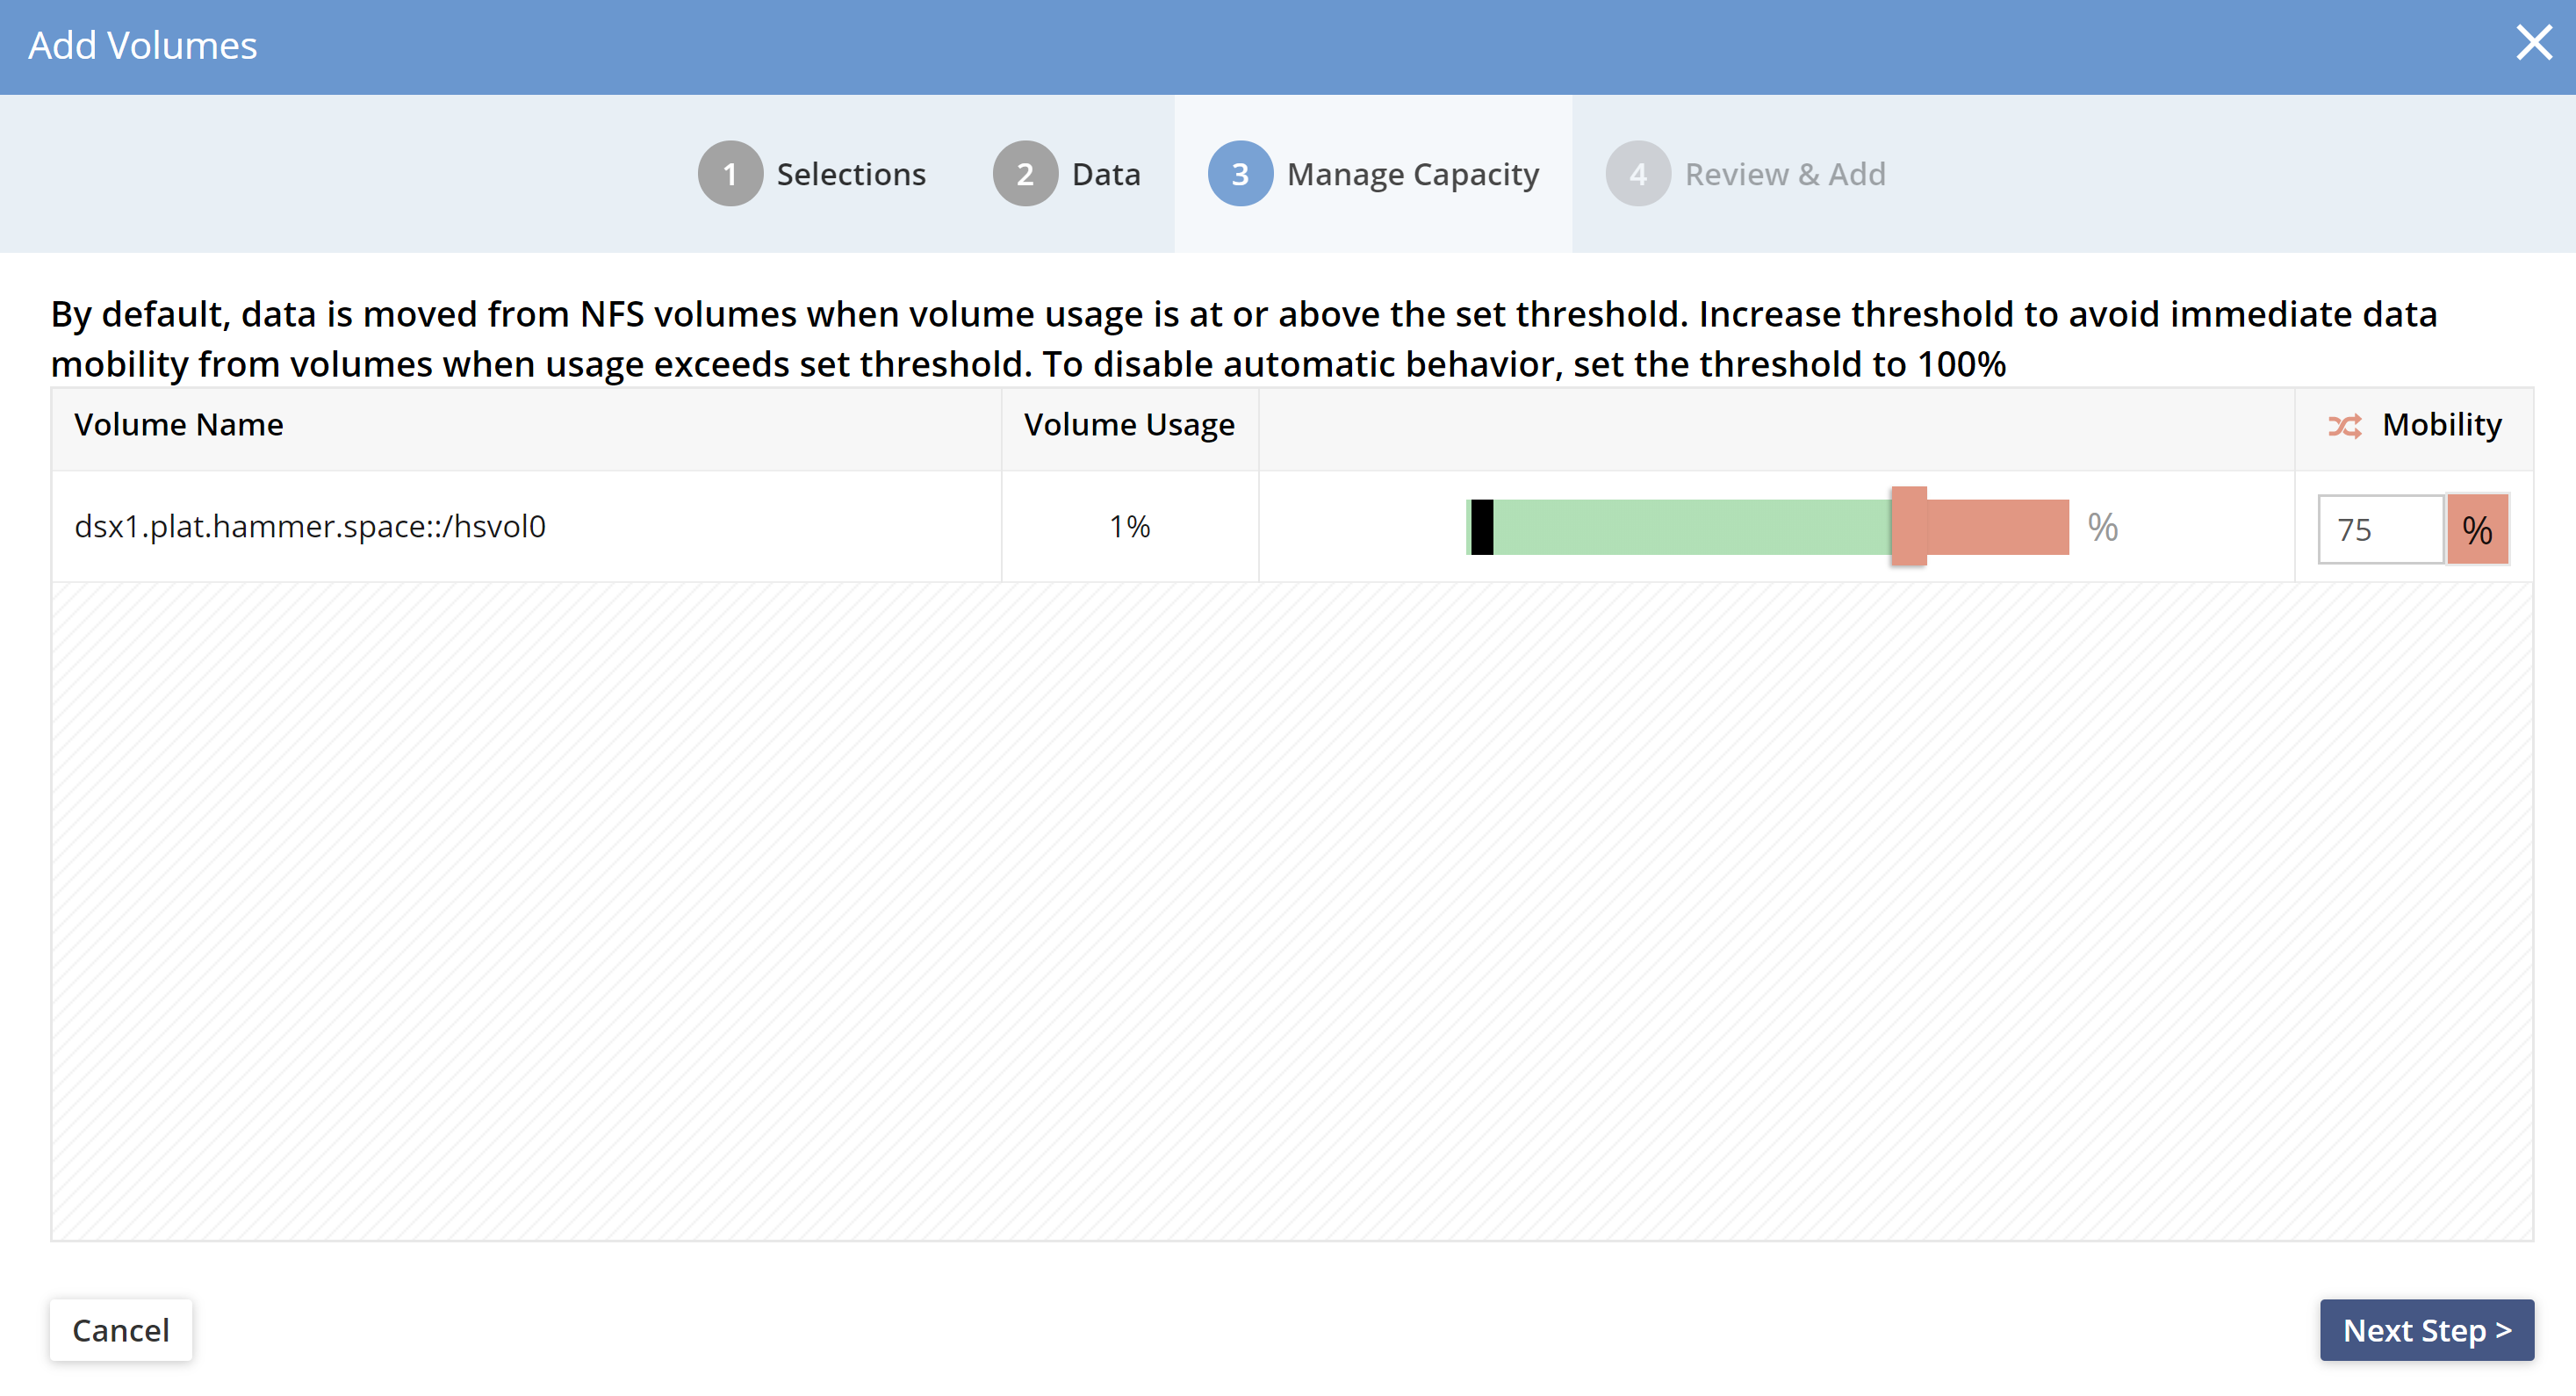
- Setting the storage volume manage-to capacity
The DataCore vFilO namespace enables live data mobility for all data stored on managed volumes. With this core functionality, it is now possible to have the system automatically load-balance across storage volumes without any disruption for data access.
The manage-to capacity for volumes allows administrators to set the desired “max” fill level of a volume before the system will no longer place new data on this volume unless it determines that all other volumes are full and that there is no object storage volume available. The data placement logic is driven by a machine learning engine that automatically takes capacity, placement and user-driven needs into account for placing data.
The manage-to percentage value can be changed on the volume settings screen after the volume has been added.

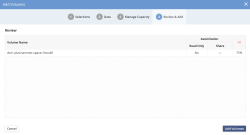
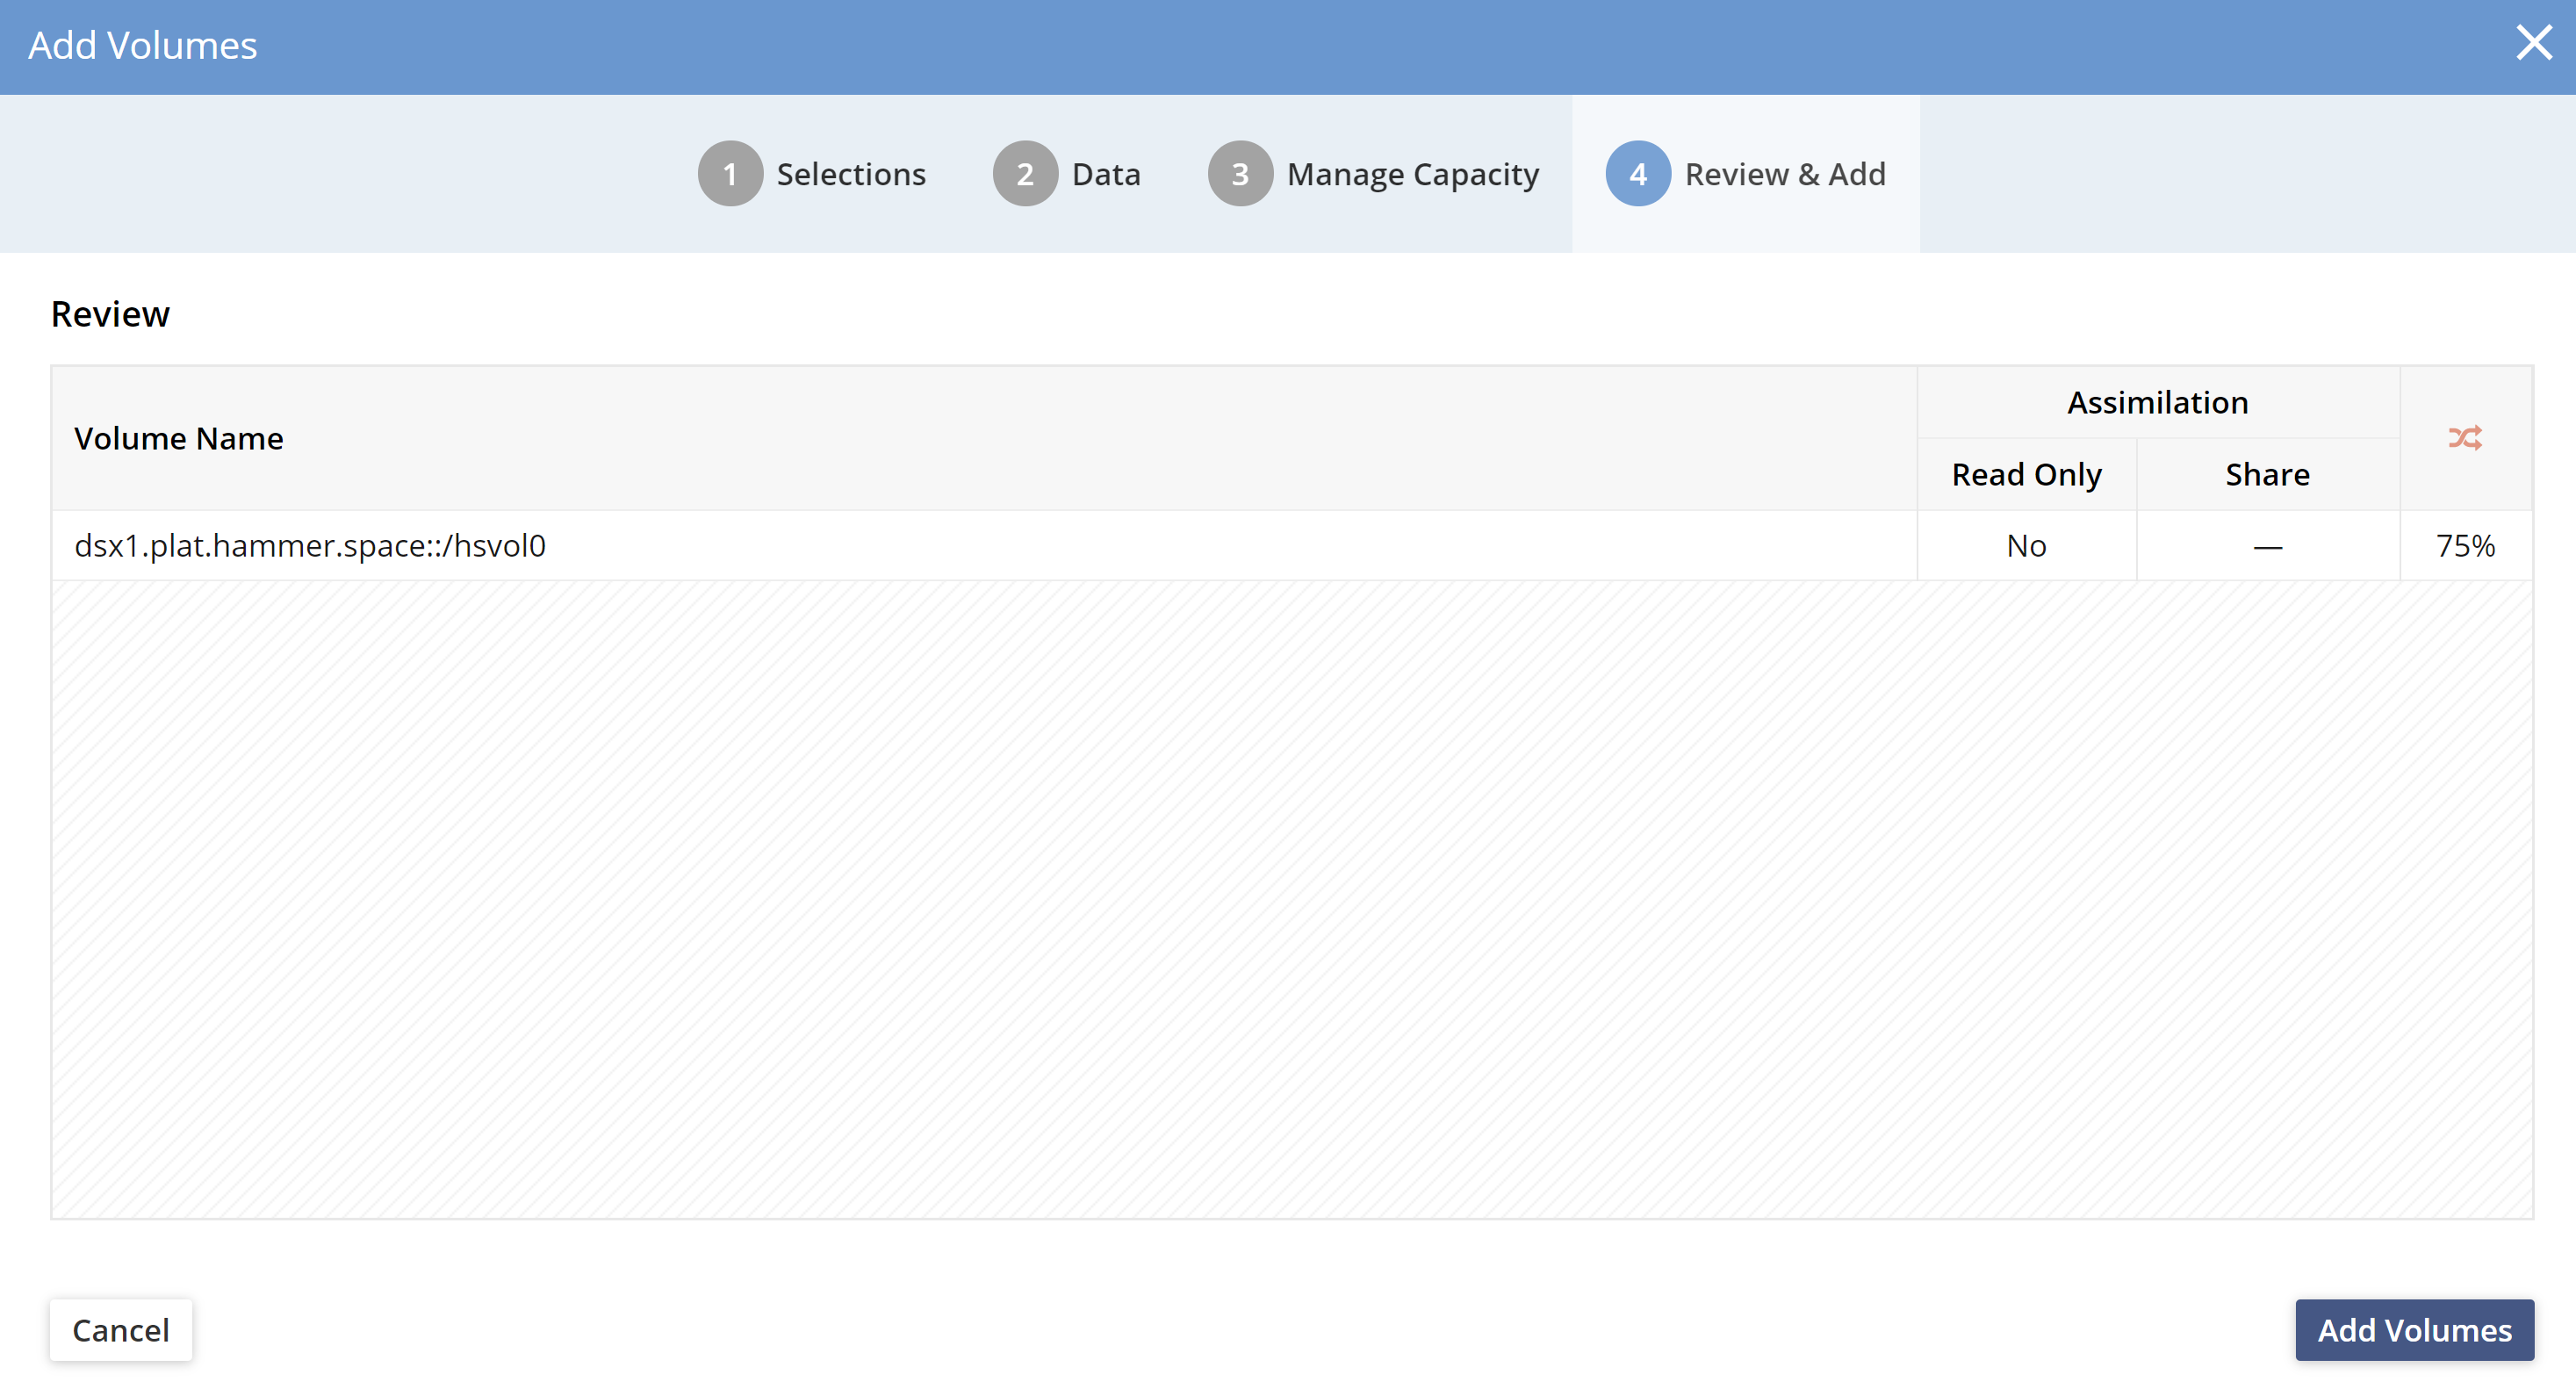
- Summary screen
This final screen in the volume add step gives a summary of what will be done when clicking on Add Volumes. Volume add is a background process and may take a few minutes to complete per Volume. Progress of volume add can be viewed in the task window or on the CLI.
Command Line Reference> task-list