Network Mappings
To configure network mappings:
- Log in to the vSphere Client.
- Go to Site Recovery > Open Site Recovery.
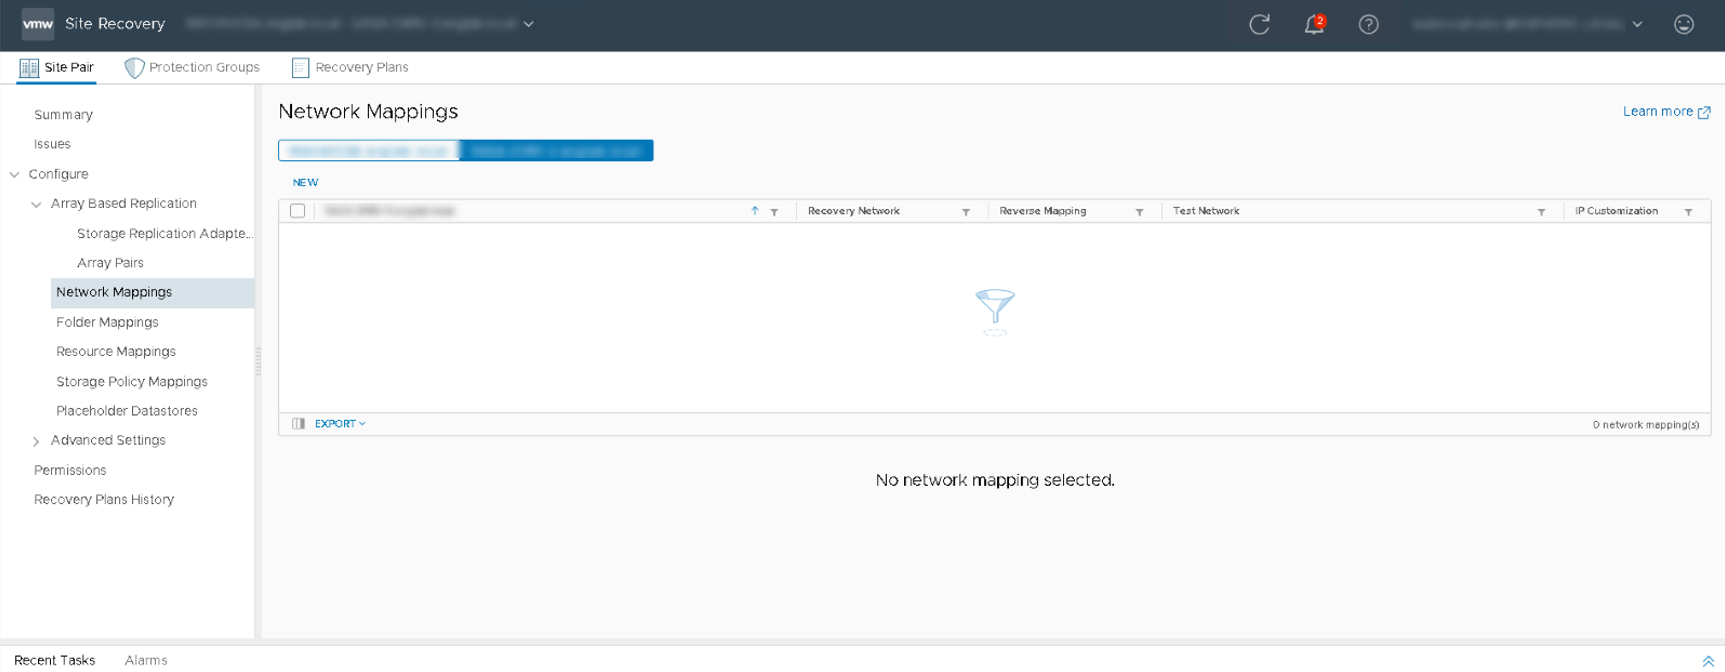
- Under the Site Pair menu options displayed on the left, click the Configure drop-down list and select Network Mappings. The Network Mappings page is displayed on the right.
- Click New.
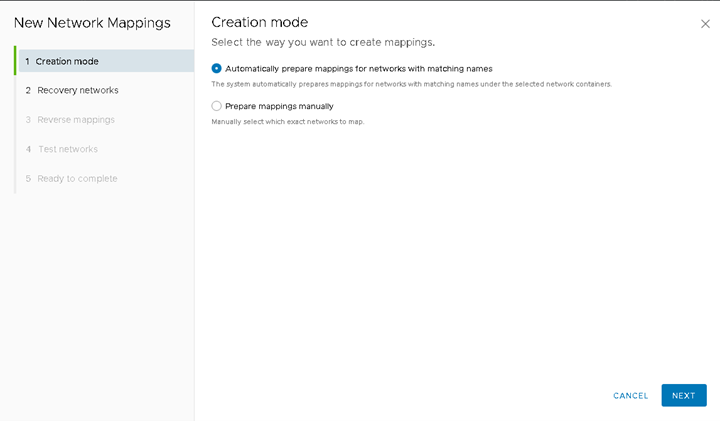
A dialog box is displayed. - Under the Creation Mode option, click the applicable radio button to create mappings and click Next.
- Automatically: Site Recovery Manager (SRM) automatically maps networks and folders on the protected site to networks and folders on the recovery site that have the same name.
- Manually: To map specific networks and folders on the protected site to specific networks, folders, and resources on the recovery site.
- For a detailed understanding on the manual and automatic mappings, refer to the following article: https://docs.vmware.com/en/Site-Recovery-Manager/8.1/com.vmware.srm.admin.doc/GUID-DEA90D45-A6DE-48F5-8489-0CFA6D1DF3CB.html.
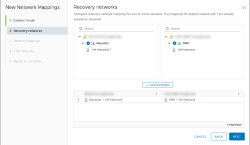
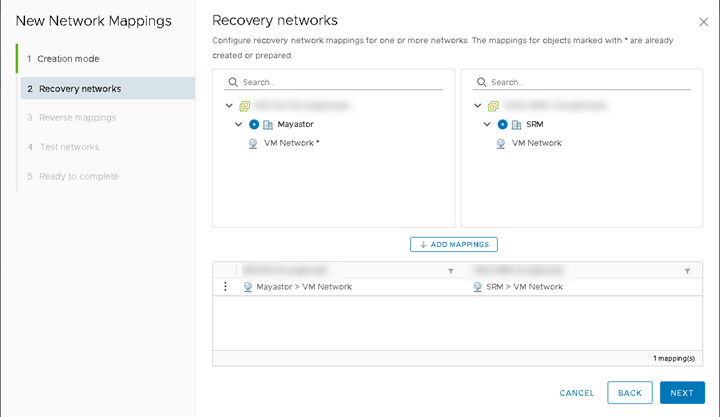
- Under the Recovery Networks option, select a Port Group at the Protected site and a corresponding Port Group at the Recovery site.
- After selecting both Port Groups, click Add Mappings and then click Next.
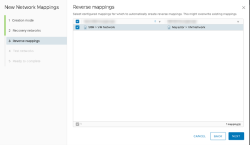
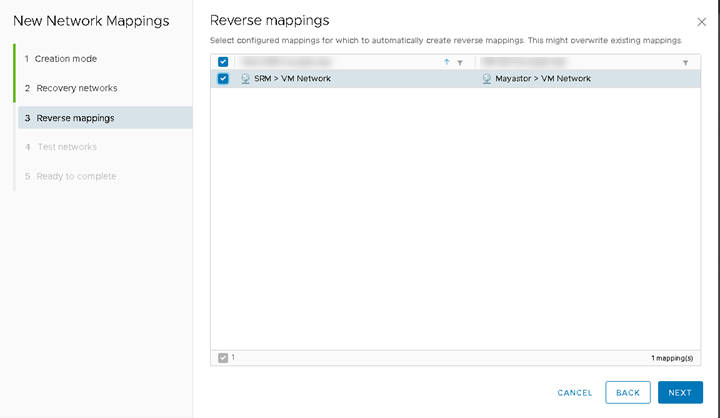
- Under the Reverse Mappings option, select the configured mapping and click Next.
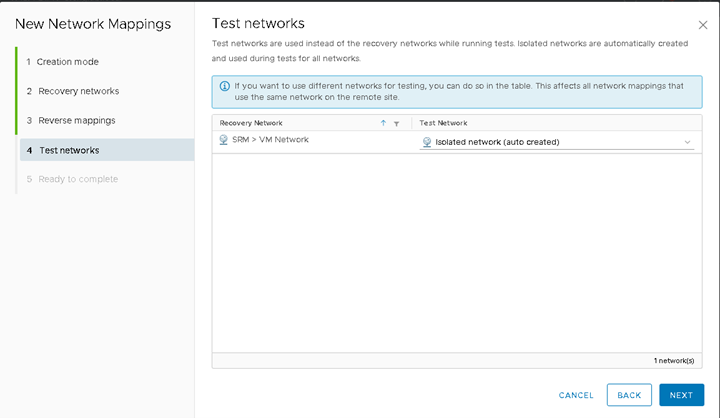
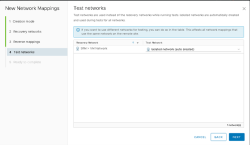
- In the table displayed under the Test Networks option, select the default network or a different network from the drop-down list. The default network uses the "Isolated network" while testing a recovery plan. For more information, see Testing a Recovery Plan.
Users may configure the SRM to create an isolated network on the recovery site to test a recovery plan. Creating an isolated test network allows the test to proceed without adding extra traffic on the production network on the recovery site. To do so, select the Isolated network (auto created) option to automatically create an isolated network on the recovery site. This is the default option.
If not using the isolated network, then select an existing network on the recovery site to use for tests. - Click Next.
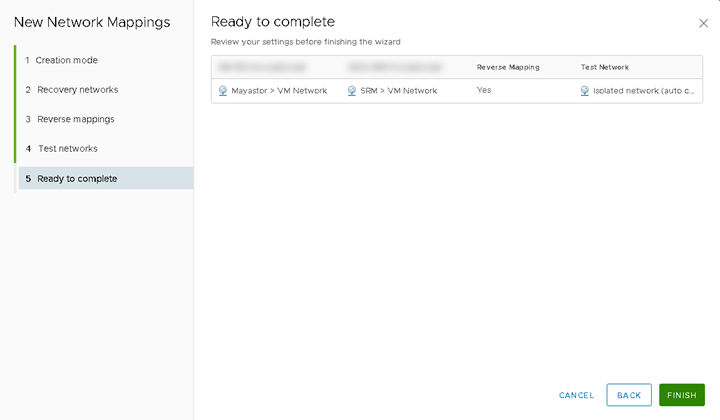
- Under the Ready to Complete option, review the settings and click Finish to complete the configuration.

Using a different network impacts all the network mappings that use the selected network on the remote site.