Enabling Capacity Optimization (Inline Deduplication and Compression)
To configure Capacity Optimization, you must have one or more unused physical disks that can be dedicated to providing Capacity Optimization storage on each server.
Enabling Capacity Optimization for a Server
Before enabling Capacity Optimization for a server, physical storage must be reserved for exclusive use as capacity optimization storage. After Capacity Optimization is enabled at the server level, you can enable Capacity Optimization for pools and virtual disks.
A minimum of 10 GB disk size is required to add a disk to the Capacity Optimization.
To enable Capacity Optimization for a server:
-
Do either of the following:
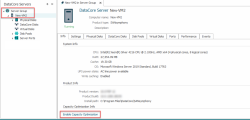
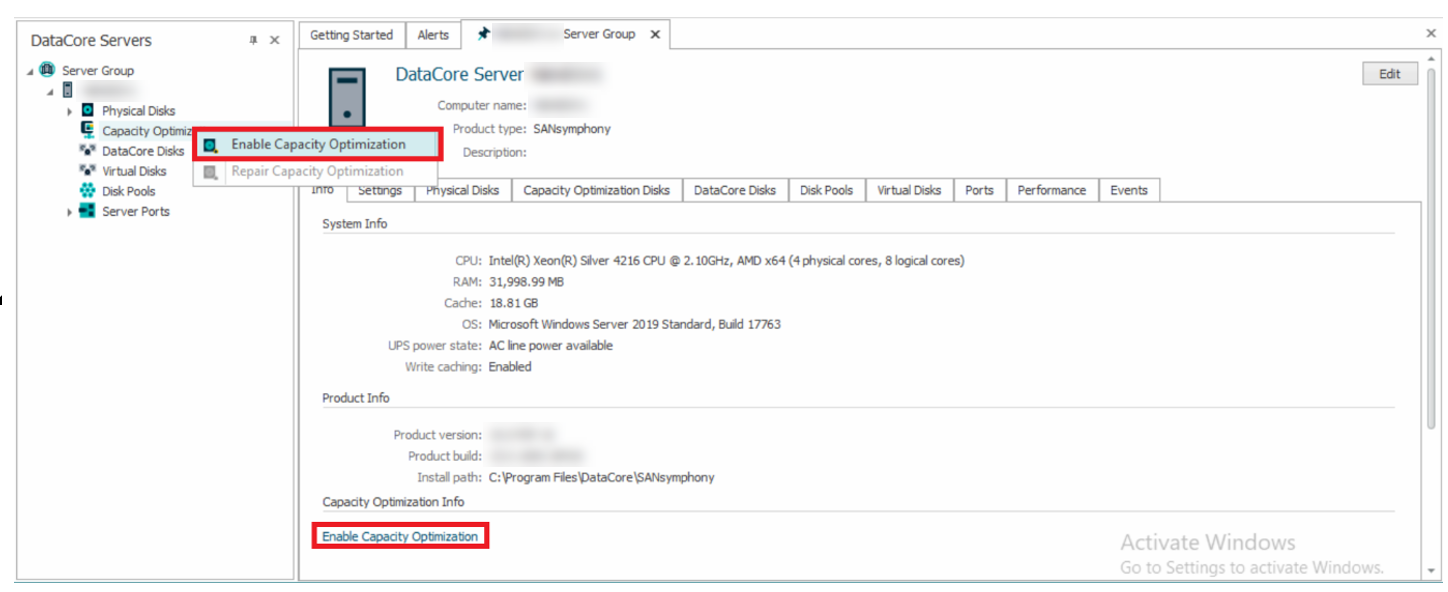
- In the DataCore Servers panel, select the applicable server under Server Group. Right-click Capacity Optimization and select Enable Capacity Optimization.

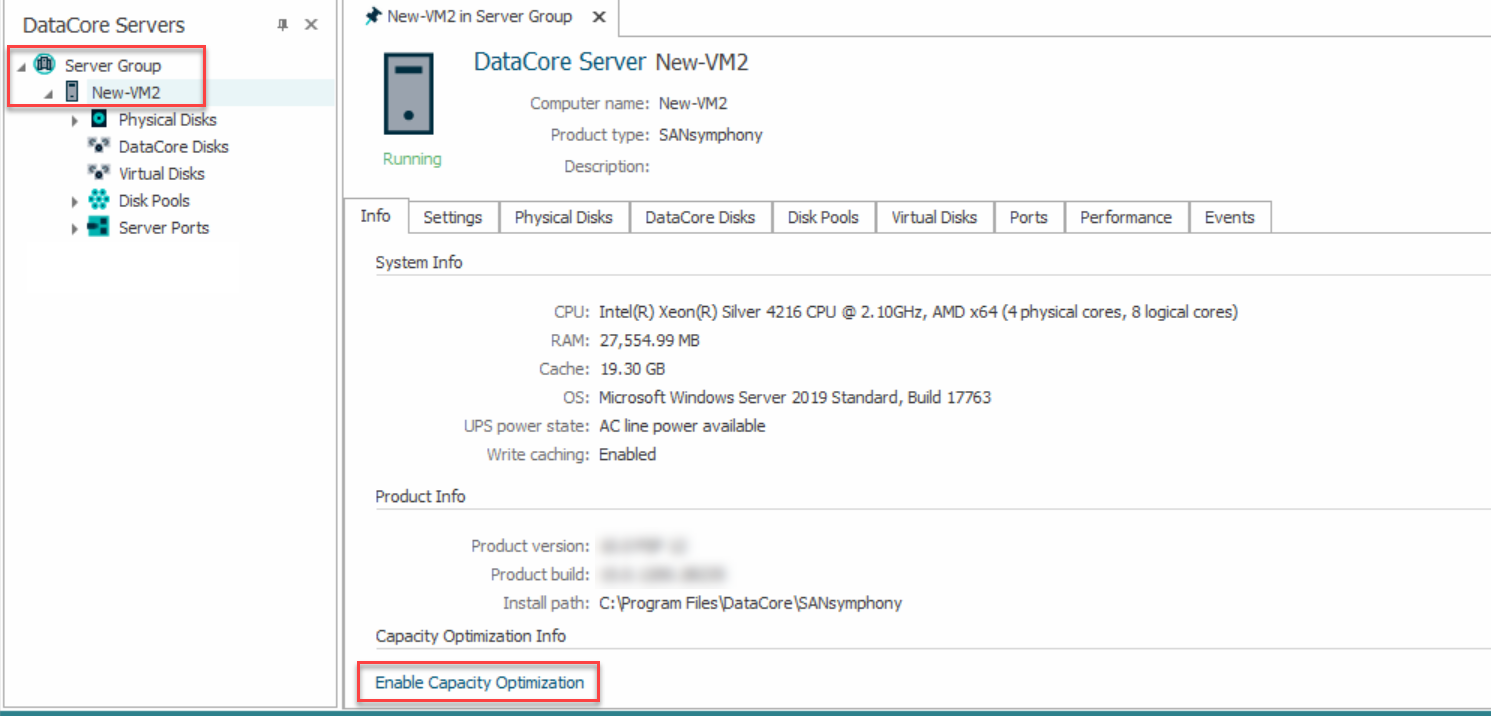
- Select the server under Server Group to open the Server Details page. On this page, click the Enable Capacity Optimization link to open the wizard.
- In the DataCore Servers panel, select the applicable server under Server Group. Right-click Capacity Optimization and select Enable Capacity Optimization.
- A message about a required stop and restart of the DataCore Server will be displayed. Click Yes to continue.
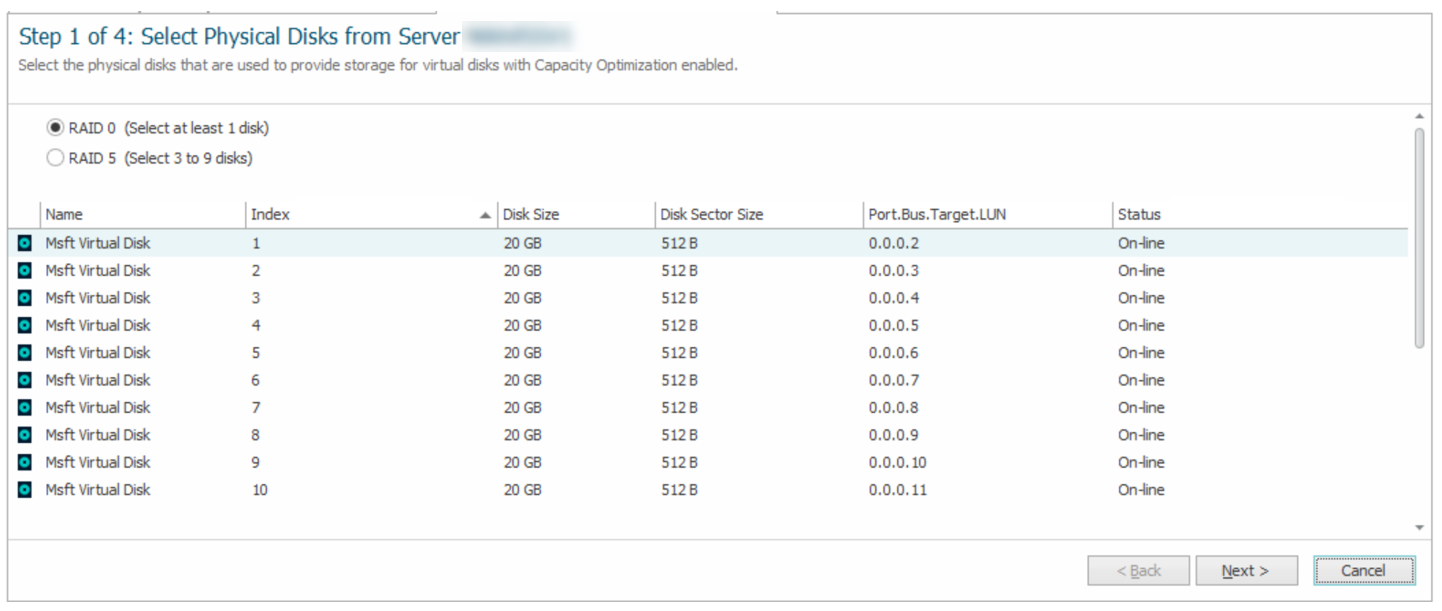
- On Step 1 of the wizard, select RAID level (RAID 0 or RAID 5) and the available physical disks that you want to include and click Next.
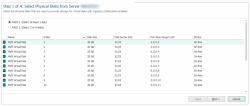
For RAID 5, Select 3 to 9 disks.
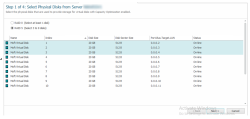
- On Step 2 of the wizard, do either of the following:
- Select a disk to configure the Level-2 ARC (L2ARC) and click Next.
- Click Skip to configure later to configure the L2ARC later. See Add Capacity Optimization disks for more information.
This step is optional.
-
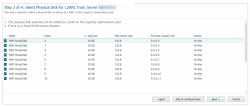
On Step 3 of the wizards, do either of the following:
- Select two disks to configure the Mirrored Special Device and click Next.
- Click Skip to configure later to configure the Mirrored Special Device later. See Add Capacity Optimization disks for more information.
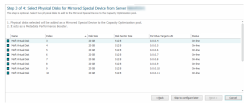
This step is optional.
-
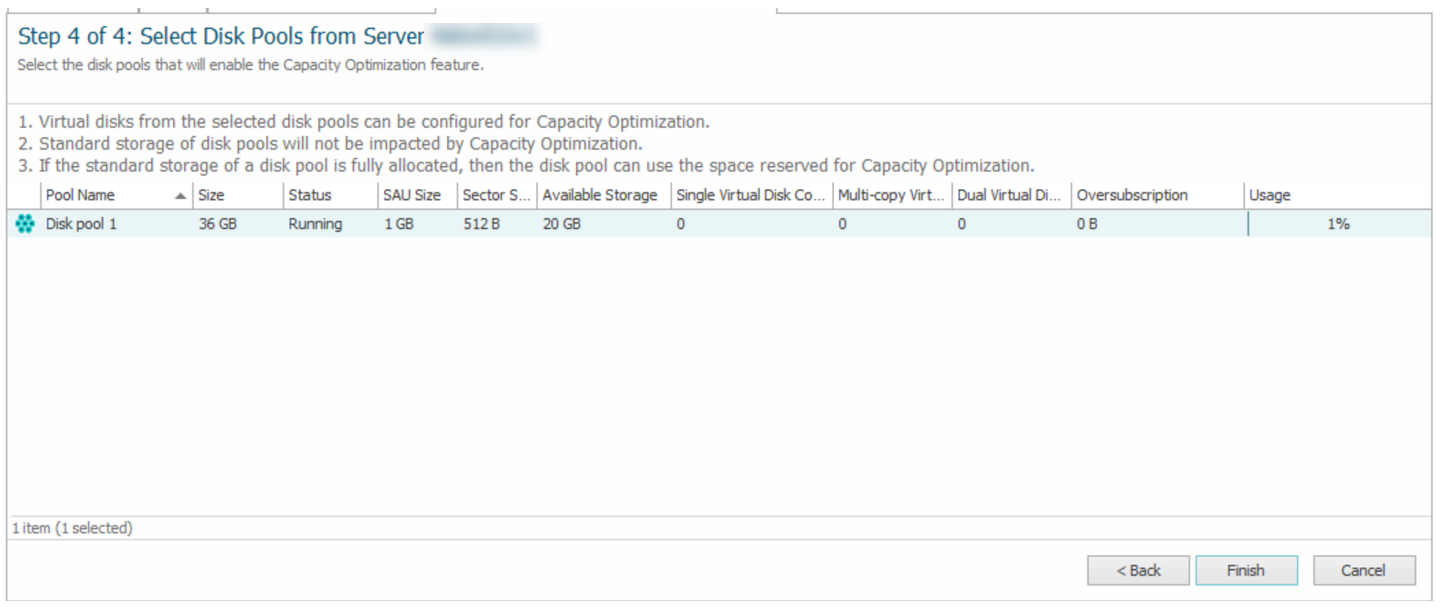
On Step 4 of the wizards, select the disk pools to enable Capacity Optimization and click Finish.
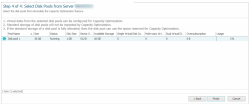
Enabling Capacity Optimization for a pool only applies it to the disks added specifically for Capacity Optimization, not all disks in the pool. Capacity Optimization only supports non-shared “standard” pools.
A message requiring a stop and restart of the DataCore Server is displayed.
- Click OK to continue.
- Stop and restart the DataCore Server.


Enabling Capacity Optimization for Virtual Disks
For mirrored virtual disks, it is not required that Capacity Optimization be enabled for all copies.
Enabling Capacity Optimization for a New Virtual Disk
You can enable Capacity Optimization while creating a new virtual disk on the Set Virtual Disk Properties page.
To enable Capacity Optimization for a new virtual disk:
- Open the Create Virtual Disk Wizard. (See Creating Virtual Disks for more information.)
- On the Set Virtual Disk Properties page, set up the virtual disk properties according to your requirements.
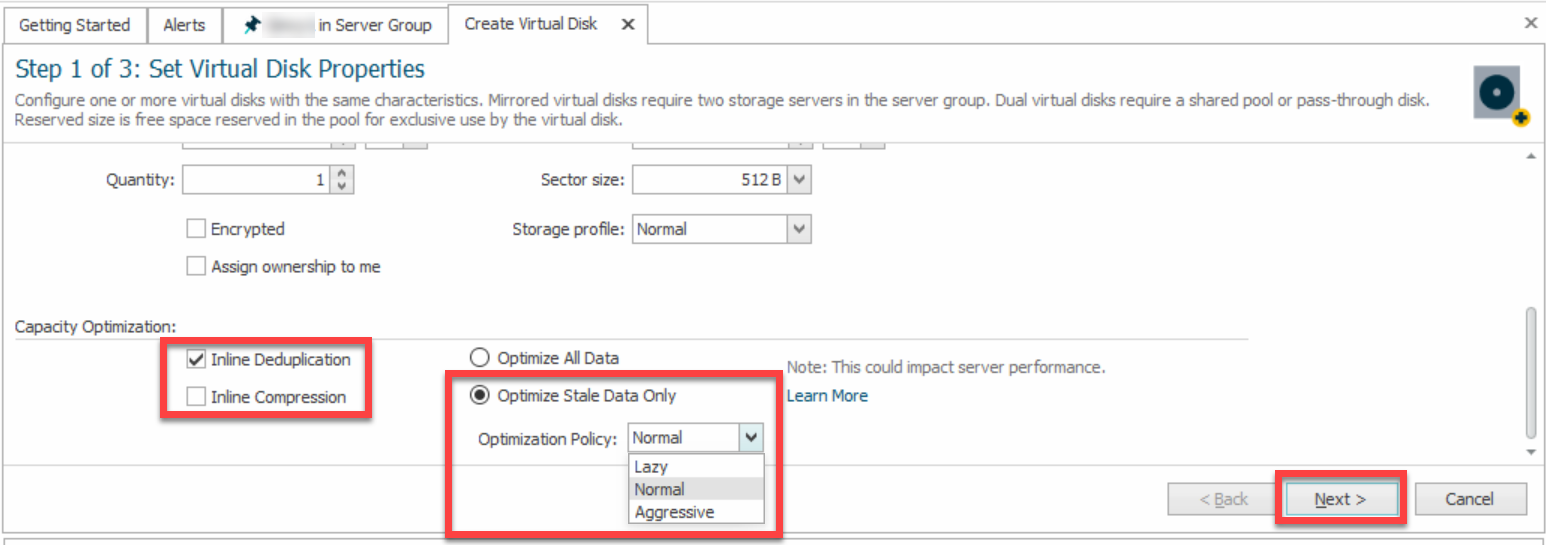
- Under Capacity Optimization, select the Inline Deduplication and/or Inline Compression check boxes.
- Select Optimize Stale Data Only and choose the Optimization Policy (Aggressive/ Normal/ Lazy) to migrate stale data of the vDisk to the CO location. Click Next.

- Follow the remaining steps of the Create Virtual Disk Wizard and click Finish.
Enabling Capacity Optimization for an Existing Virtual Disk
To enable Capacity Optimization for an existing virtual disk:
- Open the Virtual Disk Details page. (See Virtual Disk Details and List for more information.)
- On the Settings tab under Capacity Optimization, select Deduplication and Compression and/or Compression Only.
- Select Optimize Stale Data Only and choose the Optimization Policy (Aggressive/ Normal/ Lazy) to migrate stale data of the vDisk to the CO location.
- Click Apply.