Replacing the DataCore Fibre Channel Driver
This page was deprecated on 18 August 2025. Refer to the SANsymphony WebHelp for the latest and updated documentation.s
Please make sure you have read the previous section 'Before you start' first.
-
Locate and identify the Fibre Channel device in the operating system
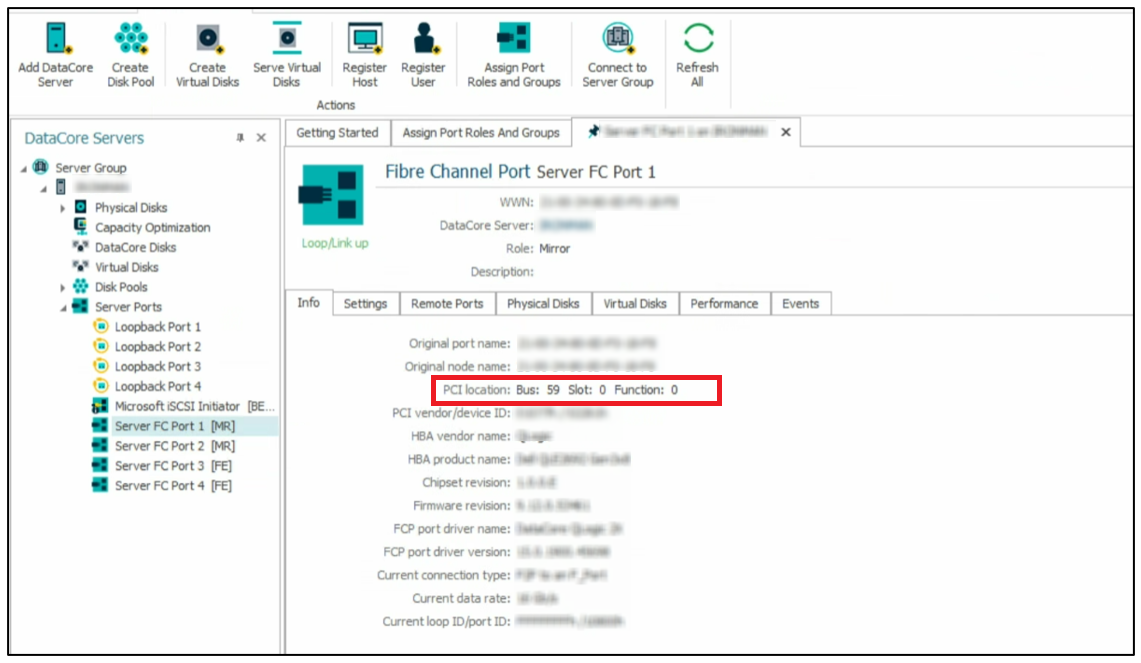
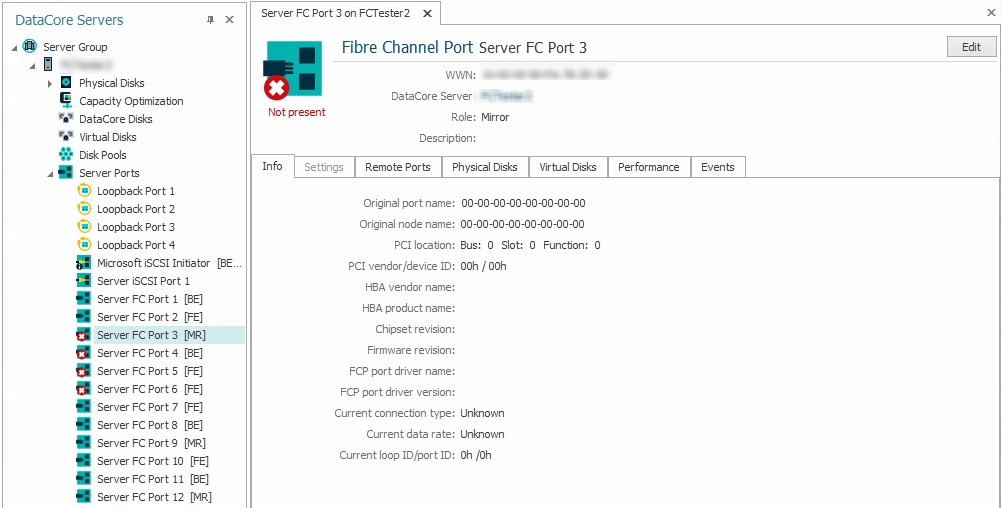
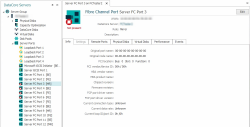
From the SANsymphony Console the Fibre Channel Port’s PCI location can be obtained from the ‘Info’ tab within the Server port Details.

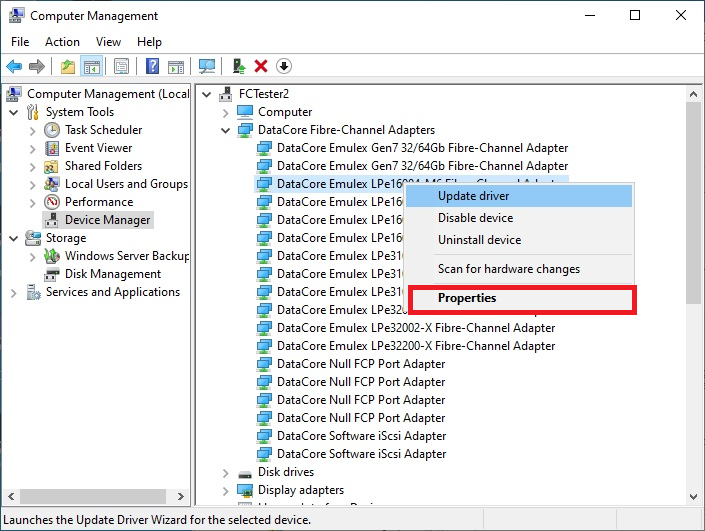
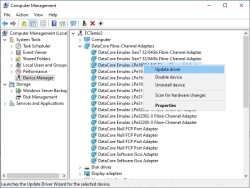
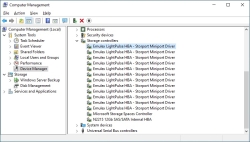
Any Fibre Channel Ports that have the DataCore Fibre Channel Driver installed on them will be listed under ‘DataCore Fibre-Channel Adapters’. Right-click on one of the DataCore Fibre Channel devices and select Properties from the context menu.

Under the ‘General’ tab, the ‘Location’ field shows the port's PCI location.
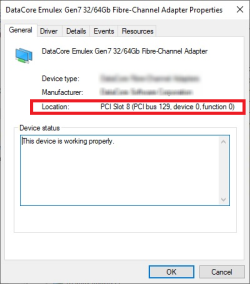
Locate the Windows device that matches the same PCI Location values as displayed in the SANsymphony console.
-
Update the Driver Software.
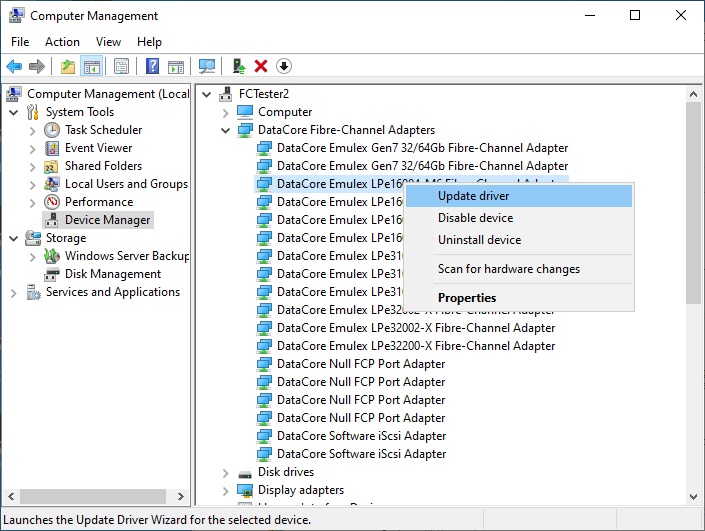
Right-click on the device needing the replacement and select ‘Update driver.’
When prompted to ‘Update Drivers’ choose the most appropriate way to install the third-party vendor’s own driver on the Fibre Channel device.
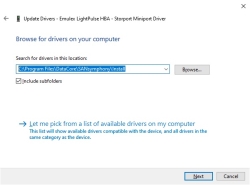
Please refer to the vendor for this information.
Once the third-party Fibre Channel Driver has been installed, the original DataCore Windows device used under the ‘DataCore Fibre-Channel Adapters’ entry will be removed and the third-party Windows device will appear under ‘Storage controllers’.
-
Clean up the SANsymphony Console.
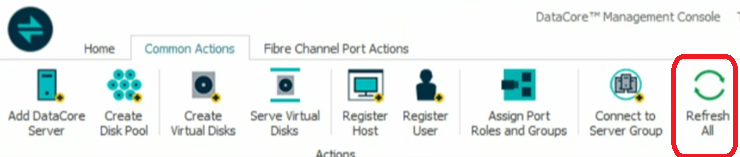
In the SANsymphony Console, select the ‘Common Actions’ tab and click the ‘Refresh All’ button.

It may take a few moments for the SANsymphony Console to update the Fibre Channel port’s status. The Fibre Channel port will now be shown as Not present, and all the values in the ‘Info’ tab for the port will be zero and the ‘Settings’ tab will be greyed out.
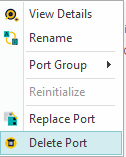
Right-click on the fibre channel port in the SANsymphony Console and from the pop-up menu, select ‘Delete Port’.

The Fibre Channel port should now be removed from the SANsymphony Console.