Running the DataCore Installation Manager for vSphere
- Launch the DataCore Installation Manager for vSphere from the shortcut on your desktop.
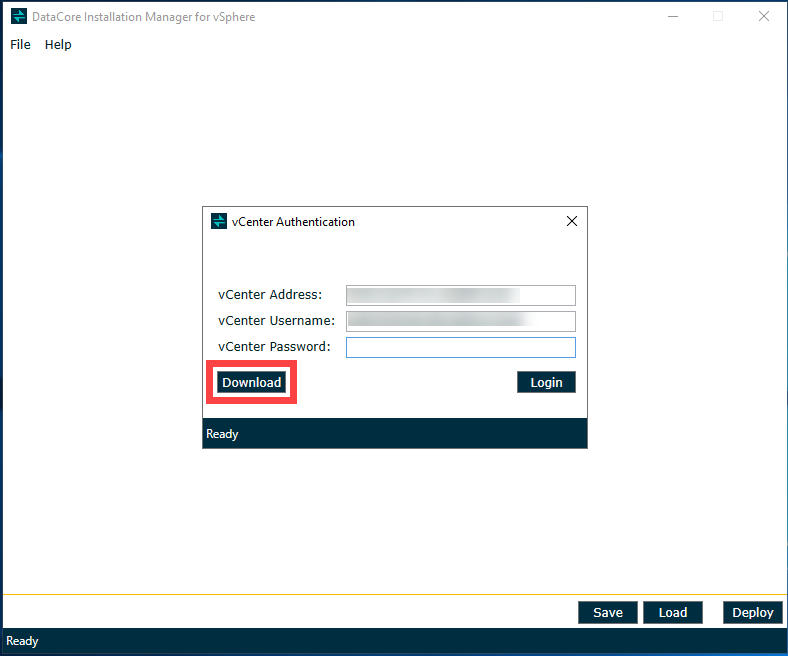
- You will be asked to provide the vCenter Server and credentials to connect to that vCenter server.
- If there are multiple datacenters present in your vCenter installation, then the DataCore Installation Manager for vSphere will ask you to choose a specific datacenter.
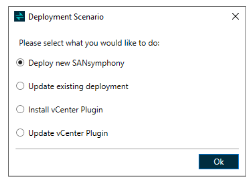
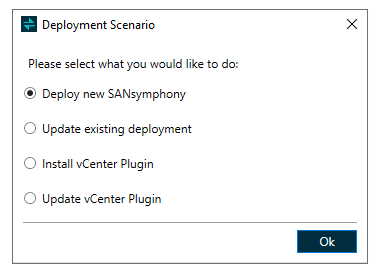
- The DataCore Installation Manager for vSphere will connect to the vCenter server and analyze the ESXi servers in that datacenter to check what kind of deployment is required. If the DataCore Installation Manager for vSphere detects that there isn’t an existing installation of DataCore SANsymphony, then the DataCore Installation Manager for vSphere will immediately present you with a deployment plan for a new Installation. Otherwise, you will have an option to either upgrade the installation, or add an additional node to the installation.
The DataCore Installation Manager for vSphere also provides the "Install vCenter Plugin" and "Update vCenter Plugin" options.
The DataCore Installation Manager for vSphere supports offline installations.
For offline installation:
- Click the Download button to download the ISO and required executable files. Alternatively, the DataCore Installation Manager for vSphere can download the executable files via the unattended mode.

The executable files get downloaded in the folder “C:\Program Files\DataCore\vSphereInstallationManager\installer”. - Copy this “installer” folder to the "C:\Program Files\DataCore\vSphereInstallationManager\" folder in the airgap/offline machine for offline deployment.